Create a Splash Poster in Canva
Looking to create a splash poster in Canva? Whether it’s for social media, an event, or just a fun creative project, this beginner-friendly tutorial will guide you through each step. No design experience is needed just follow along and bring your ideas to life!
Easy Canva Tutorial for Beginners. Let’s get started.
Step-by-Step Canva Splash Poster Tutorial
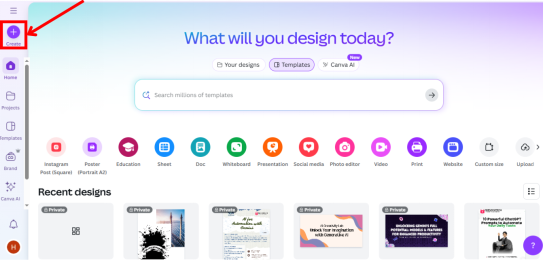
Step 1: Start a New Project
Click the “Create” button on Canva’s homepage to start a new project. Choose your desired dimensions (e.g., Poster Post or Custom Size).
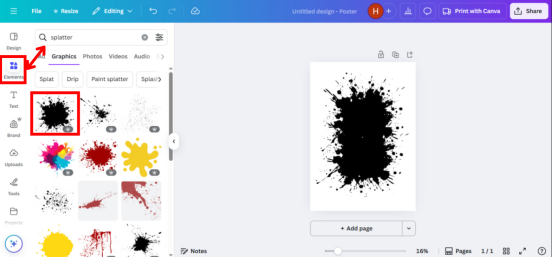
Step 2: Add Splatter Effects
Go to the “Elements” tab and search for “splatter” in the search bar.
Then:
- Click on “Graphics”
- Choose any splatter design that fits your vision
- Drag it onto your canvas
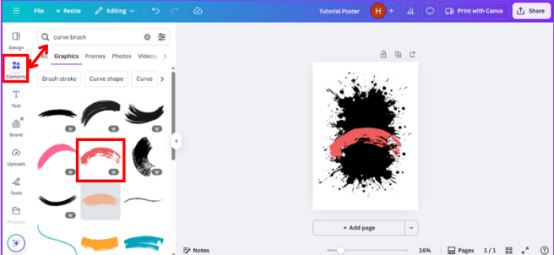
Step 3: Add Curve Brush
Still in the “Elements” section, now search for “curve brush.”
Then:
- Again, go to “Graphics”
- Choose a brush style that complements your splatter
- Increase its size slightly
- Move it to the center of your canvas
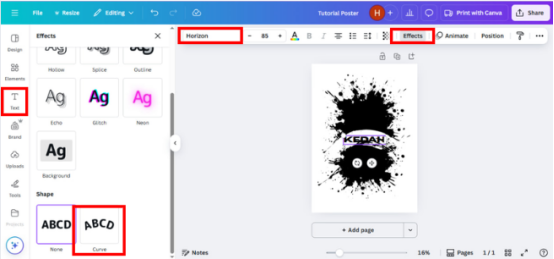
Step 4: Add and Style Your Text
Now go to the “Text” section:
- Type in the main text for your poster
- Choose a font that matches your theme or vibe
- Resize the text to make it stand out
- Click on “Effects”, then choose the “Curve” option
- Adjust the curve amount to your preference
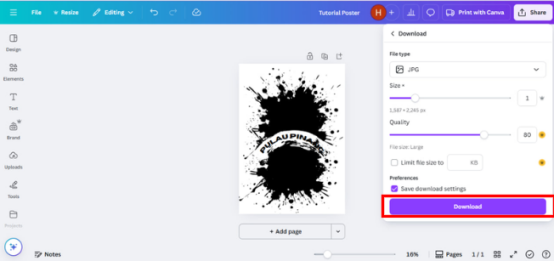
Step 5: Save the First Version
Once you’re happy with the layout:
- Click Download and save your image (PNG recommended)
Step 6: Prep for Blending
Now, clean your canvas:
- Delete all elements from the design
Then, upload the image you just downloaded

Step 7: Add Background Image
Drag and drop the background image you want to use.
Now you should have two images in your project:
- The splash design you made earlier
- A photo or texture for the background

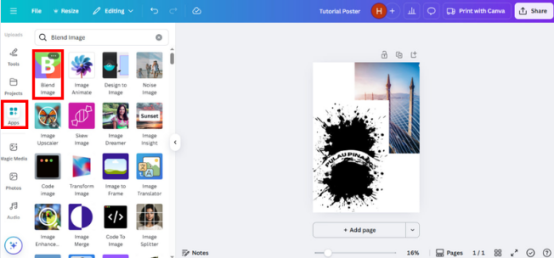
Step 8: Blend the Two Images
Go to the “Apps” tab on the left panel:
- Search for “Blend Image”
- Choose the Blend Images tool
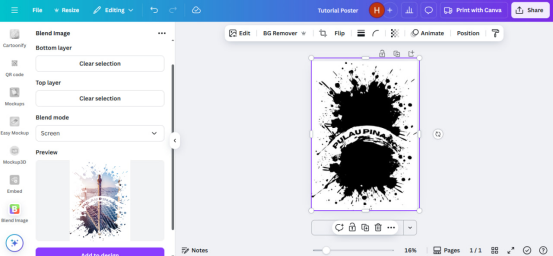
Now, arrange your layers:
- Make sure the splash design is on the Top Layer
- Set the background image as the Bottom Layer
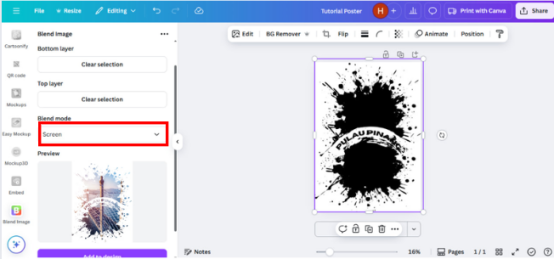
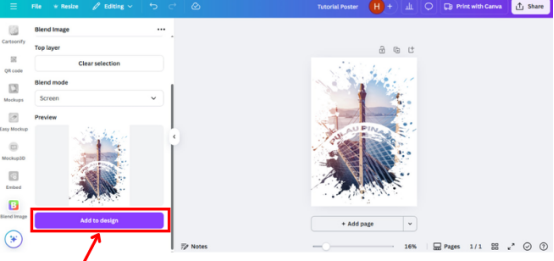
Step 9: Final Blend Settings
Inside the Blend tool:
- Go to Blend Mode
- Scroll down and choose “Screen” (this removes dark areas and lets the background show through)
Step 10: Add to Design
Once you’re happy with the blend effect, click the “Add to Design” button.
✨ And that’s it. Your splash poster is ready!
Final Tips
- Use high-quality background images for a clean finish
- Play around with different fonts and splatter styles
- Want a neon or glow effect? Try combining “Screen” blend with colored brushes
Your Poster = Your Art
With just a few steps in Canva, you’ve created a dynamic, splash-style poster that’s ready to be shared or printed.
Have fun designing and don’t forget to save your work!